Wednesday evening I got to work on a little craft project I've been meaning to do for a while now - since even before moving - make a headboard! Really, for a lot longer I've been meaning to actually buy a bed, but we've been shopping for one for ages and haven't found anything we've liked. So the next best thing to a real bed is a headboard - both to make the bed look more grounded and put-together, and also to provide a nice, cushy surface for our hands and heads to hit instead of the wall.
Plus, it seemed like it would be so simple. Ah, yes ... lulled by the false simplicity of the craft project. Will I ever learn that lesson?
 Step 1: Gather Materials: fabric, batting, foam, and decorative nails from Joann Fabrics, plus a plywood board and staples from Lowes. You would think getting the materials would be the easy part, but not when you don't realize that not just the fabric, but the batting and foam all need to be cut by the snooty women at the cutting station who would much rather stand around talking about quilting than help the line of six people waiting for help. Then I went to get my board cut and accidentally gave the guy the measurements I'd been using for the fabric/batting length (which is longer because it needs to be folded over). I ended up with a board that was too long and needed to take it back the next day to get re-cut. Whomp whomp. On the plus side, at least their safety information is easy to read and *not* obscured by anything. (Slaps forehead.)
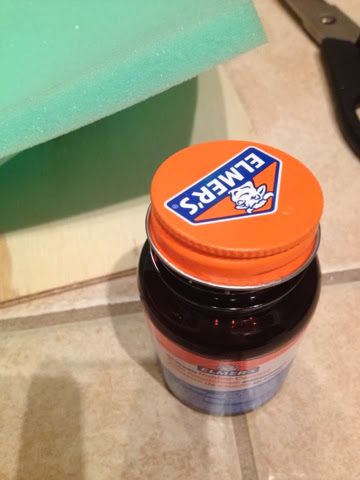
Step 2: Attach foam to plywood with glue. The Internets told me to use spray glue, but since I had this rubber cement at home, I figured it would do the job. Not entirely sure why you need to glue down the foam at all, but I did it anyway. Not too complicated.

Step 3: Staple gun batting and fabric to board over foam. Fortunately, I'm just the kind of industrious person who already owns a staple gun. Just not so industrious that I had the staples for it at home.
 The actualy stapling involved in this step also wasn't particularly difficult, but the real hard part was cutting off all the excess fabric and batting around the edges. You don't want a ton of extra stuff hanging all over the back of your board, not to mention extras will keep the corners from folding down nicely, but cutting that much gave me a horrible blister on my finger :(
 Step 4 (in theory): decorate with nails. My original plan here was to run a border of decorative nails around the edge of the board about 2 1/2 inches in from the sides. I thought this would give the headboard a much more finished appearance, in addition to holding the fabric and batting and everything onto the board more.
 Of course I say "in theory" because that definitely didn't happen. I bought three packages of 24 nails, and going through the first package I ended up with 22 bent nails and 2 that had gone into the board. Luckily, I had the foresight when it all started to go wrong to just start aiming for the corners and figured I would fill in the rest if I ever got the hang of it. I didn't. Package 2 got me the other two corners, 13 bent nails, and a total loss of will to try anymore.

So here's what I ended up with. It's a pretty grainy picture (low bedroom light and all), but you get the idea. Soft, black board with a decorative nail in each corner. Not bad for $100 and about two hours of my time. Now we can't get a real bed for at least a year, until the pain of this little project has worn off enough for me to be willing to get rid of it.


So here's what I ended up with. It's a pretty grainy picture (low bedroom light and all), but you get the idea. Soft, black board with a decorative nail in each corner. Not bad for $100 and about two hours of my time. Now we can't get a real bed for at least a year, until the pain of this little project has worn off enough for me to be willing to get rid of it.
No comments:
Post a Comment